
Prerequisites
- Access to the AWS account that receives the bill. In an AWS organisation, that is the management account.
- Permission to view AWS Cost Management. The
AWSBillingReadOnlyAccessmanaged policy covers it, and it is the policy Fjall’s ownBillingpermission set attaches when you enable IAM Identity Center.
Steps
- Open the Cost Explorer console.
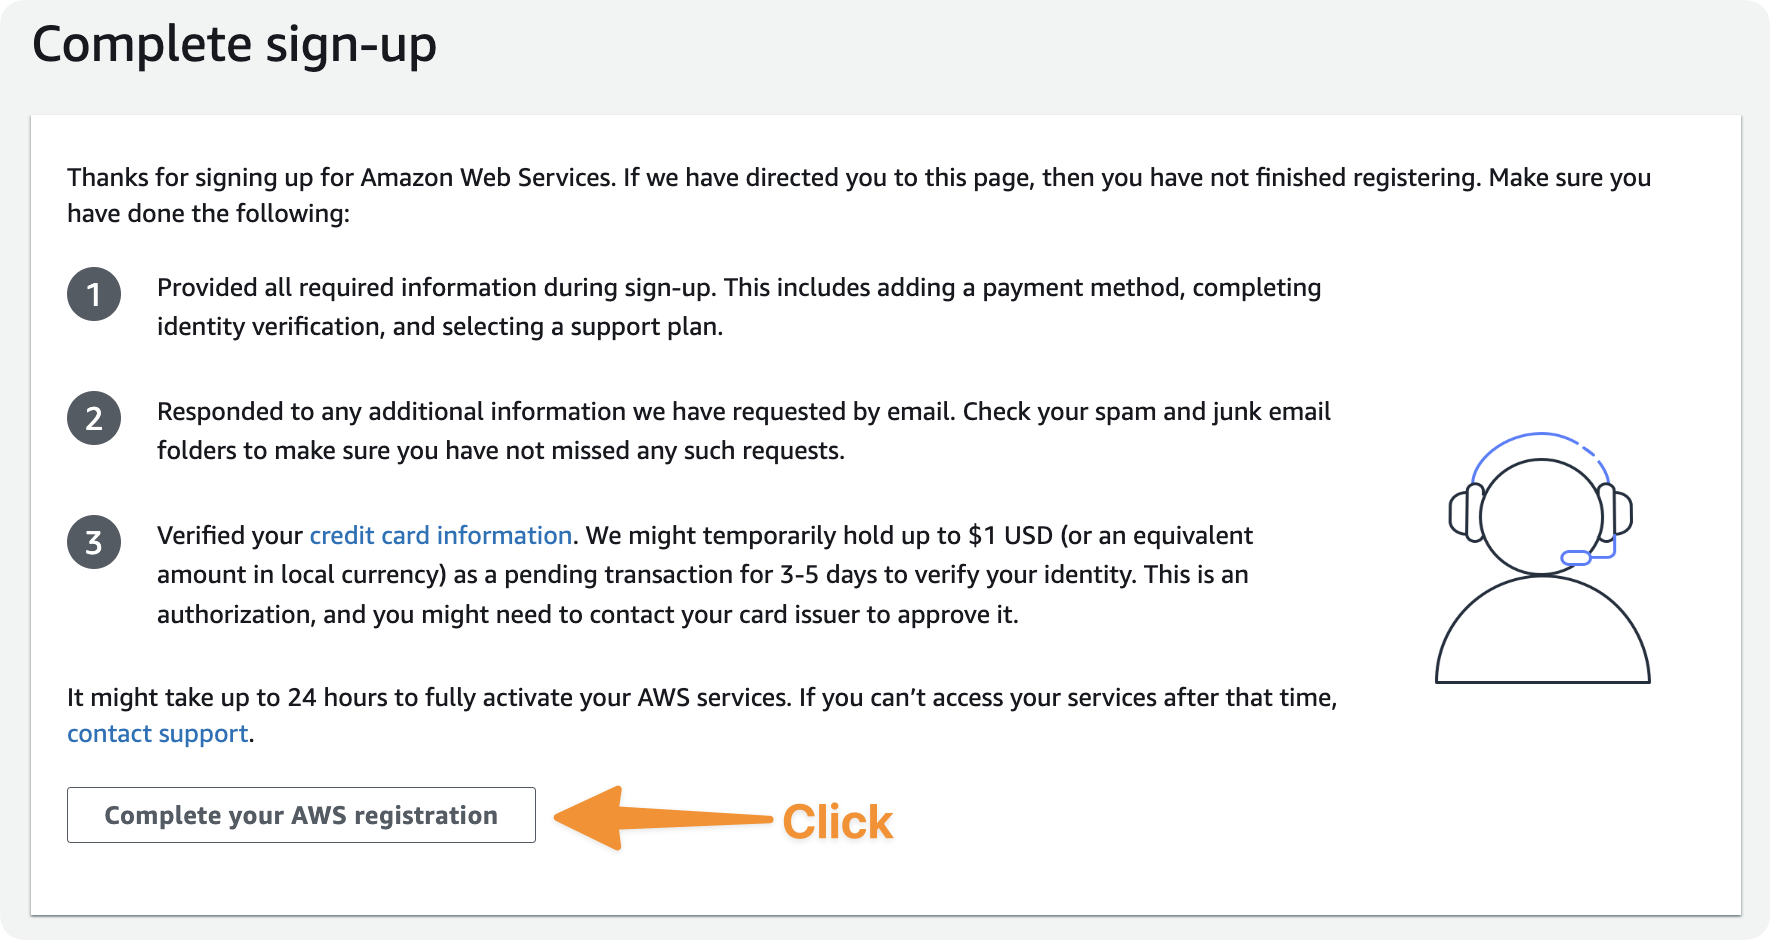
- Complete billing preferences and account validation if AWS asks for them on your first visit.
- Select Complete your AWS registration and continue.
What happens next
AWS takes up to 24 hours to populate cost data after activation. The console shows a pending state until the first report lands.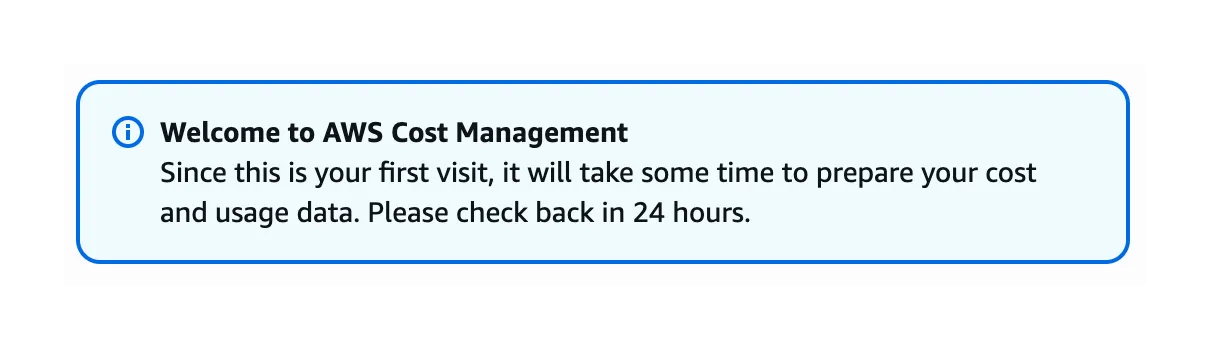
A pending message is expected on first activation. Fjall continues your setup
while AWS prepares the data, so carry on to the next step.
What Fjall reads
The tag activator runs in the management account, in the organisation’s home region only, because Cost Explorer is a global service. Per-application spend attribution depends on those tags, so breakdowns sharpen after AWS processes a full day of tagged usage.
Check spend from the CLI
Once data lands, read it without opening the console:Next Steps
Enable IAM Identity Center
Turn on centralised access management for your team.
Deploy Organisation
Create the management account, guardrails and cost tag activator.